This post was sponsored by Krazy Glue. Thanks for supporting my creativity!
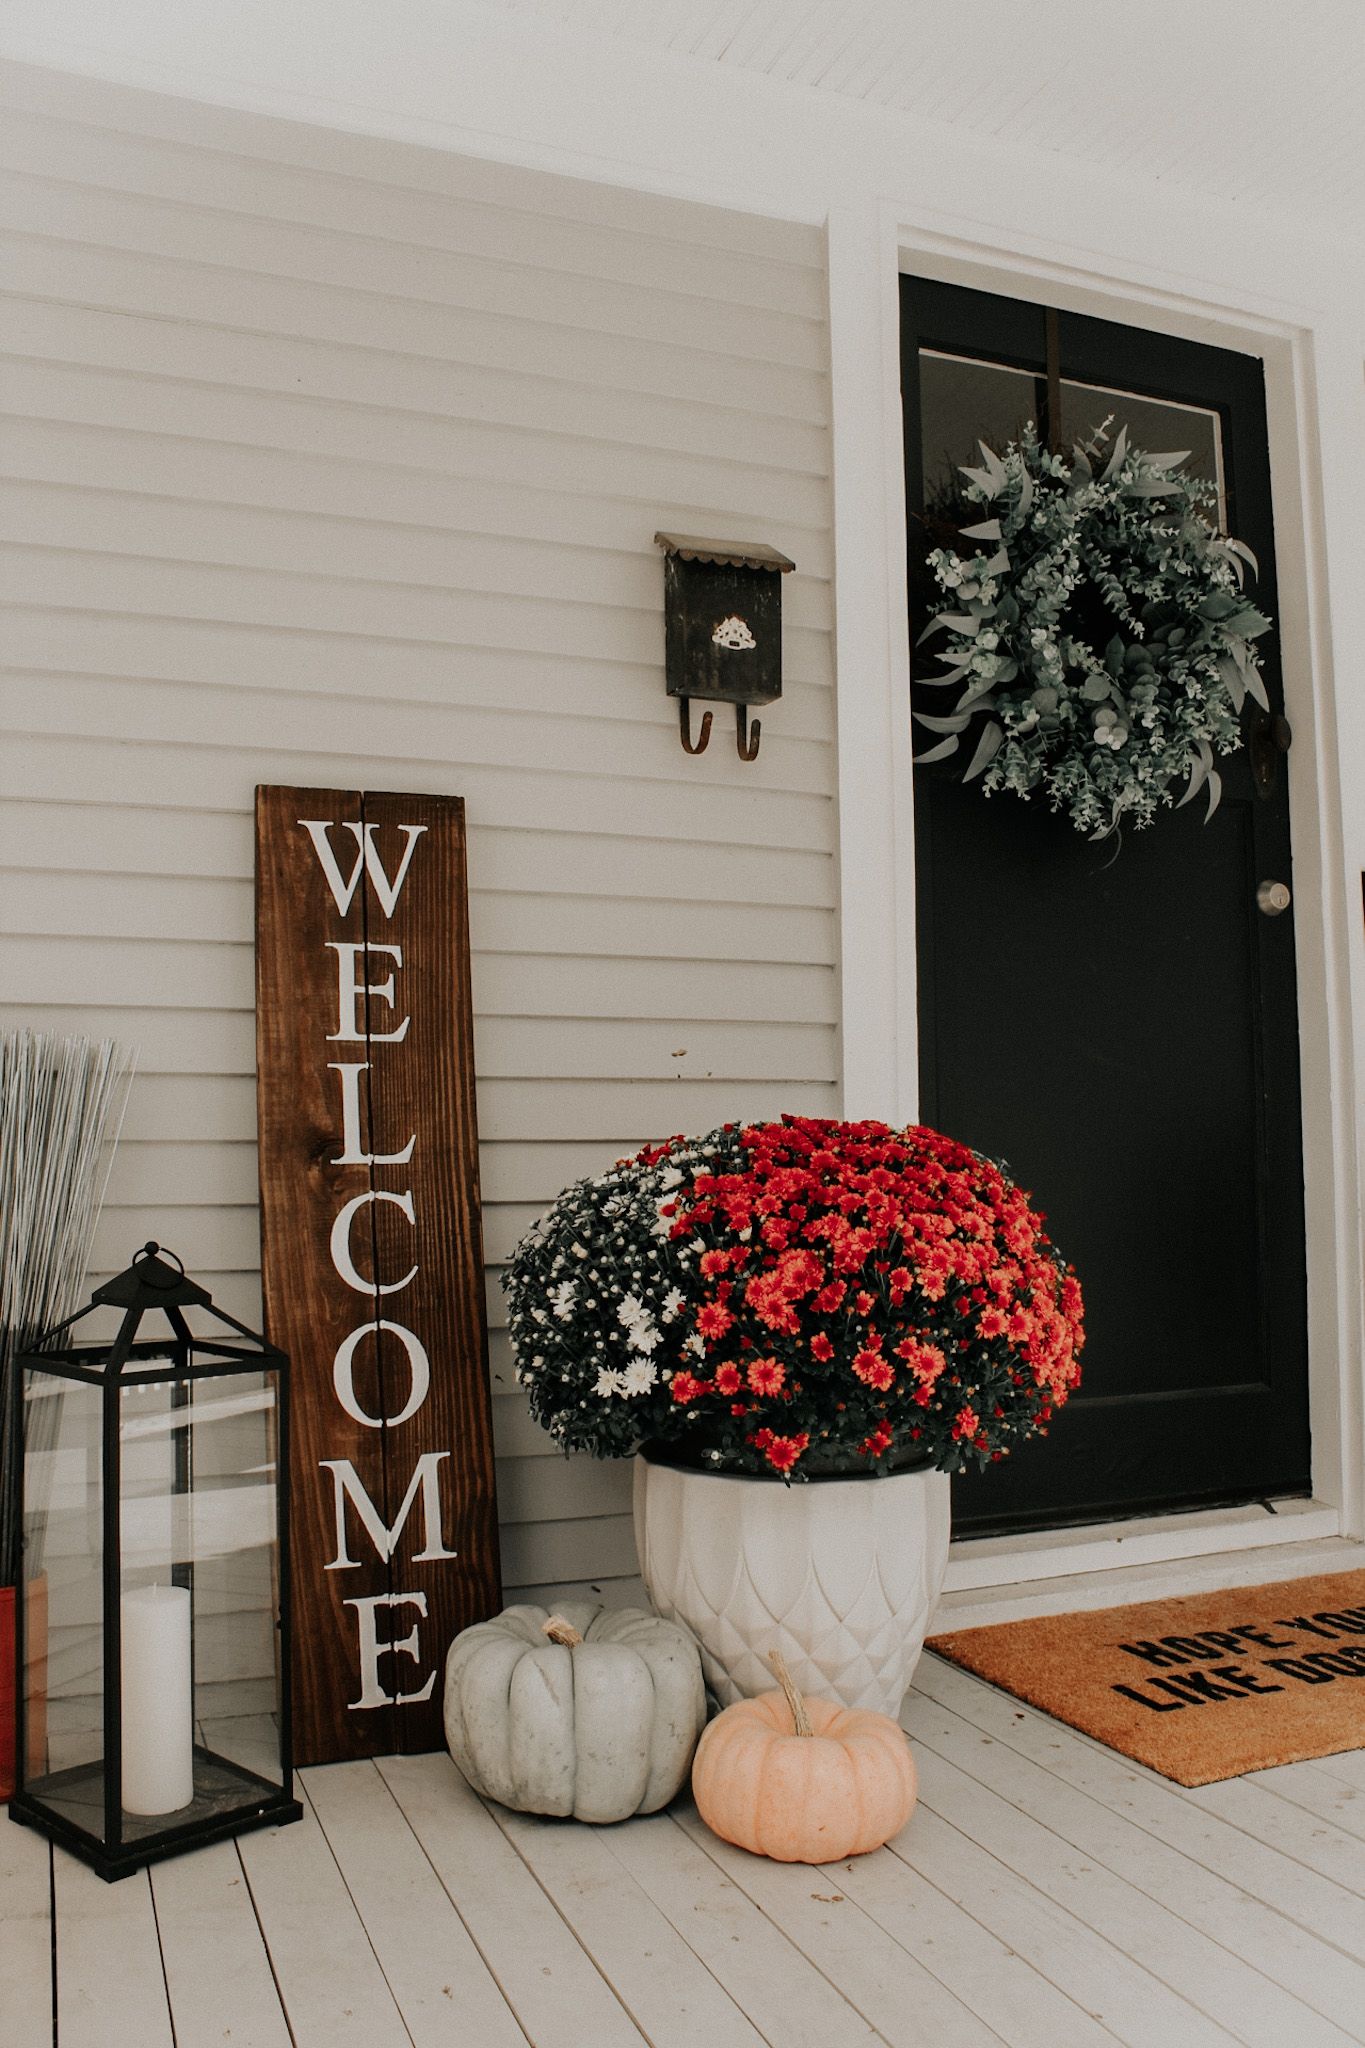
I have to be honest, I am not a fan of DIY, but this DIY welcome sign for our front porch was a quick and easy project that turned out so well. I had most of the items needed around the house, but we purchased pre-cut wood and stencils for this project! I’ve included the supply list below.
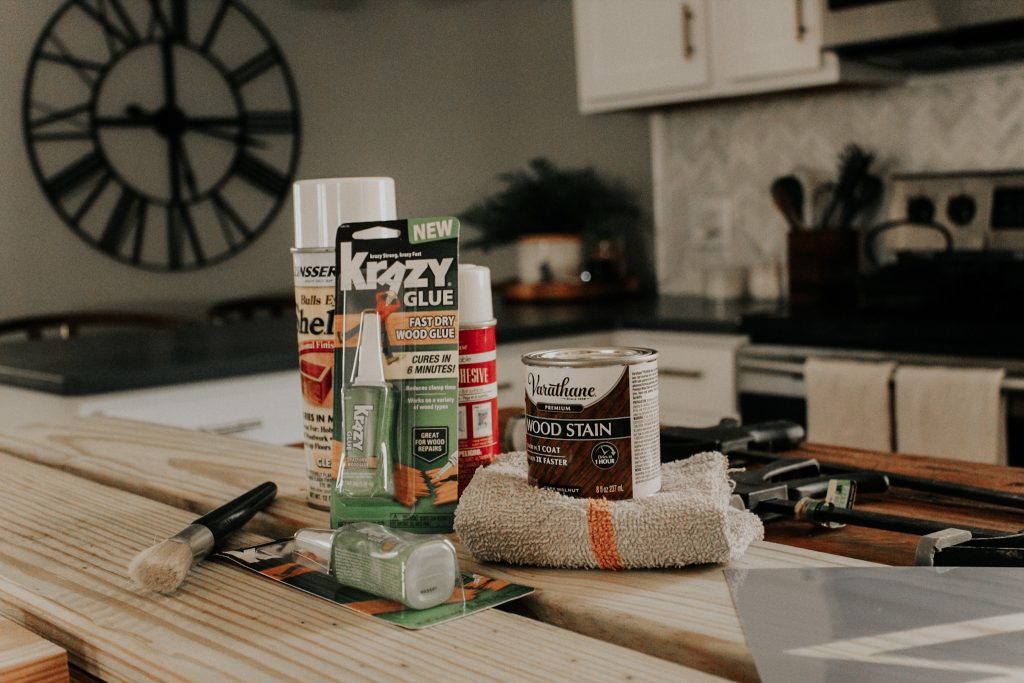

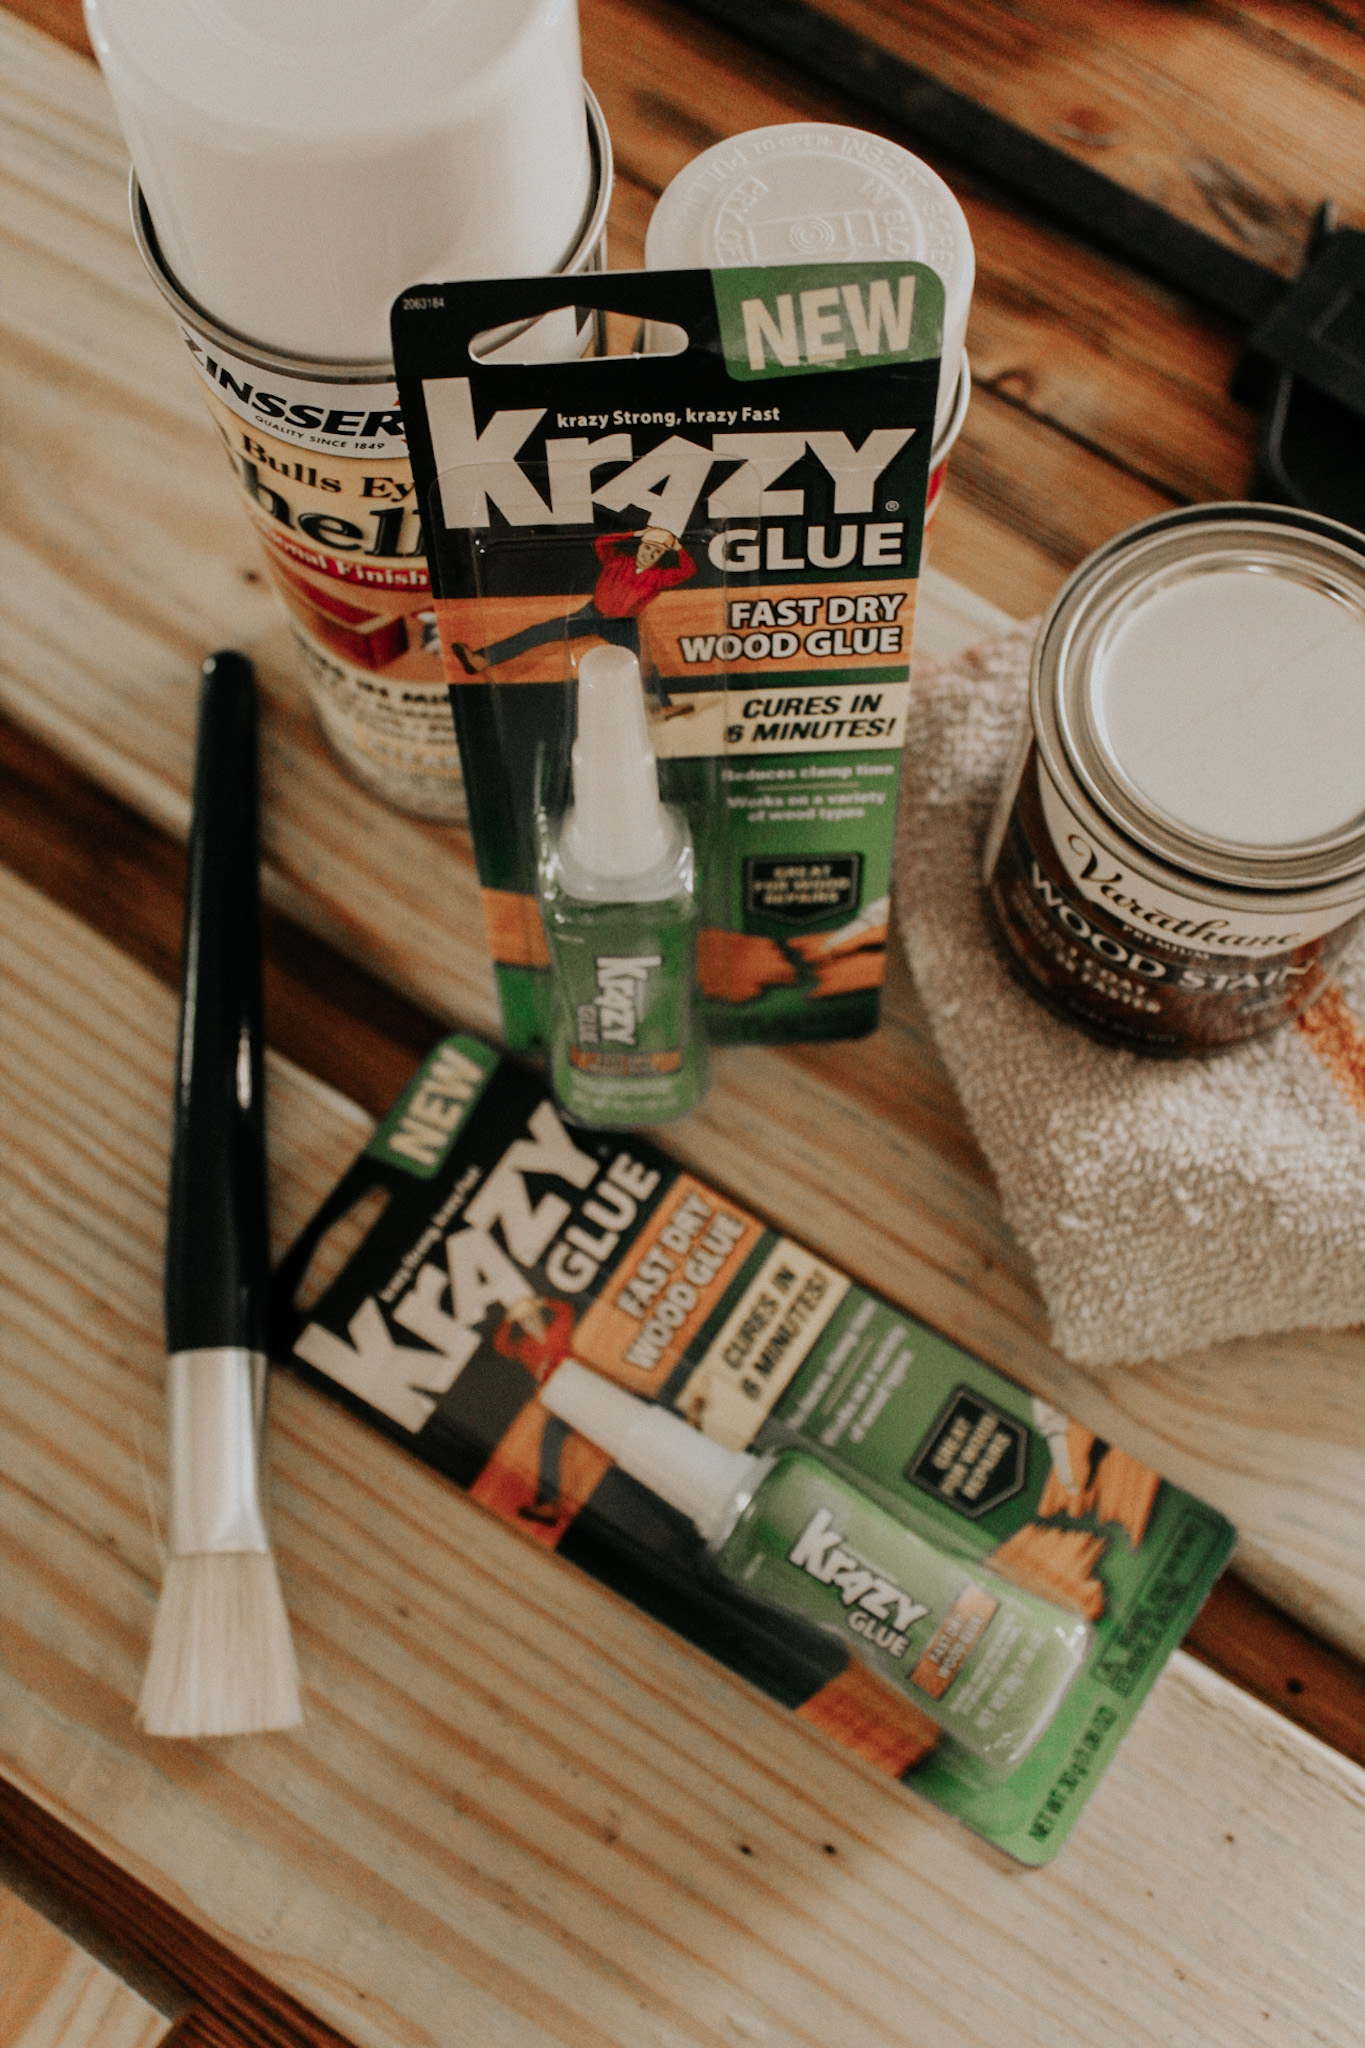


DIY Welcome Sign Supplies:
- 2 pieces of 1″x6″x4″ wood
- 1 piece of 1″x6x3″ wood
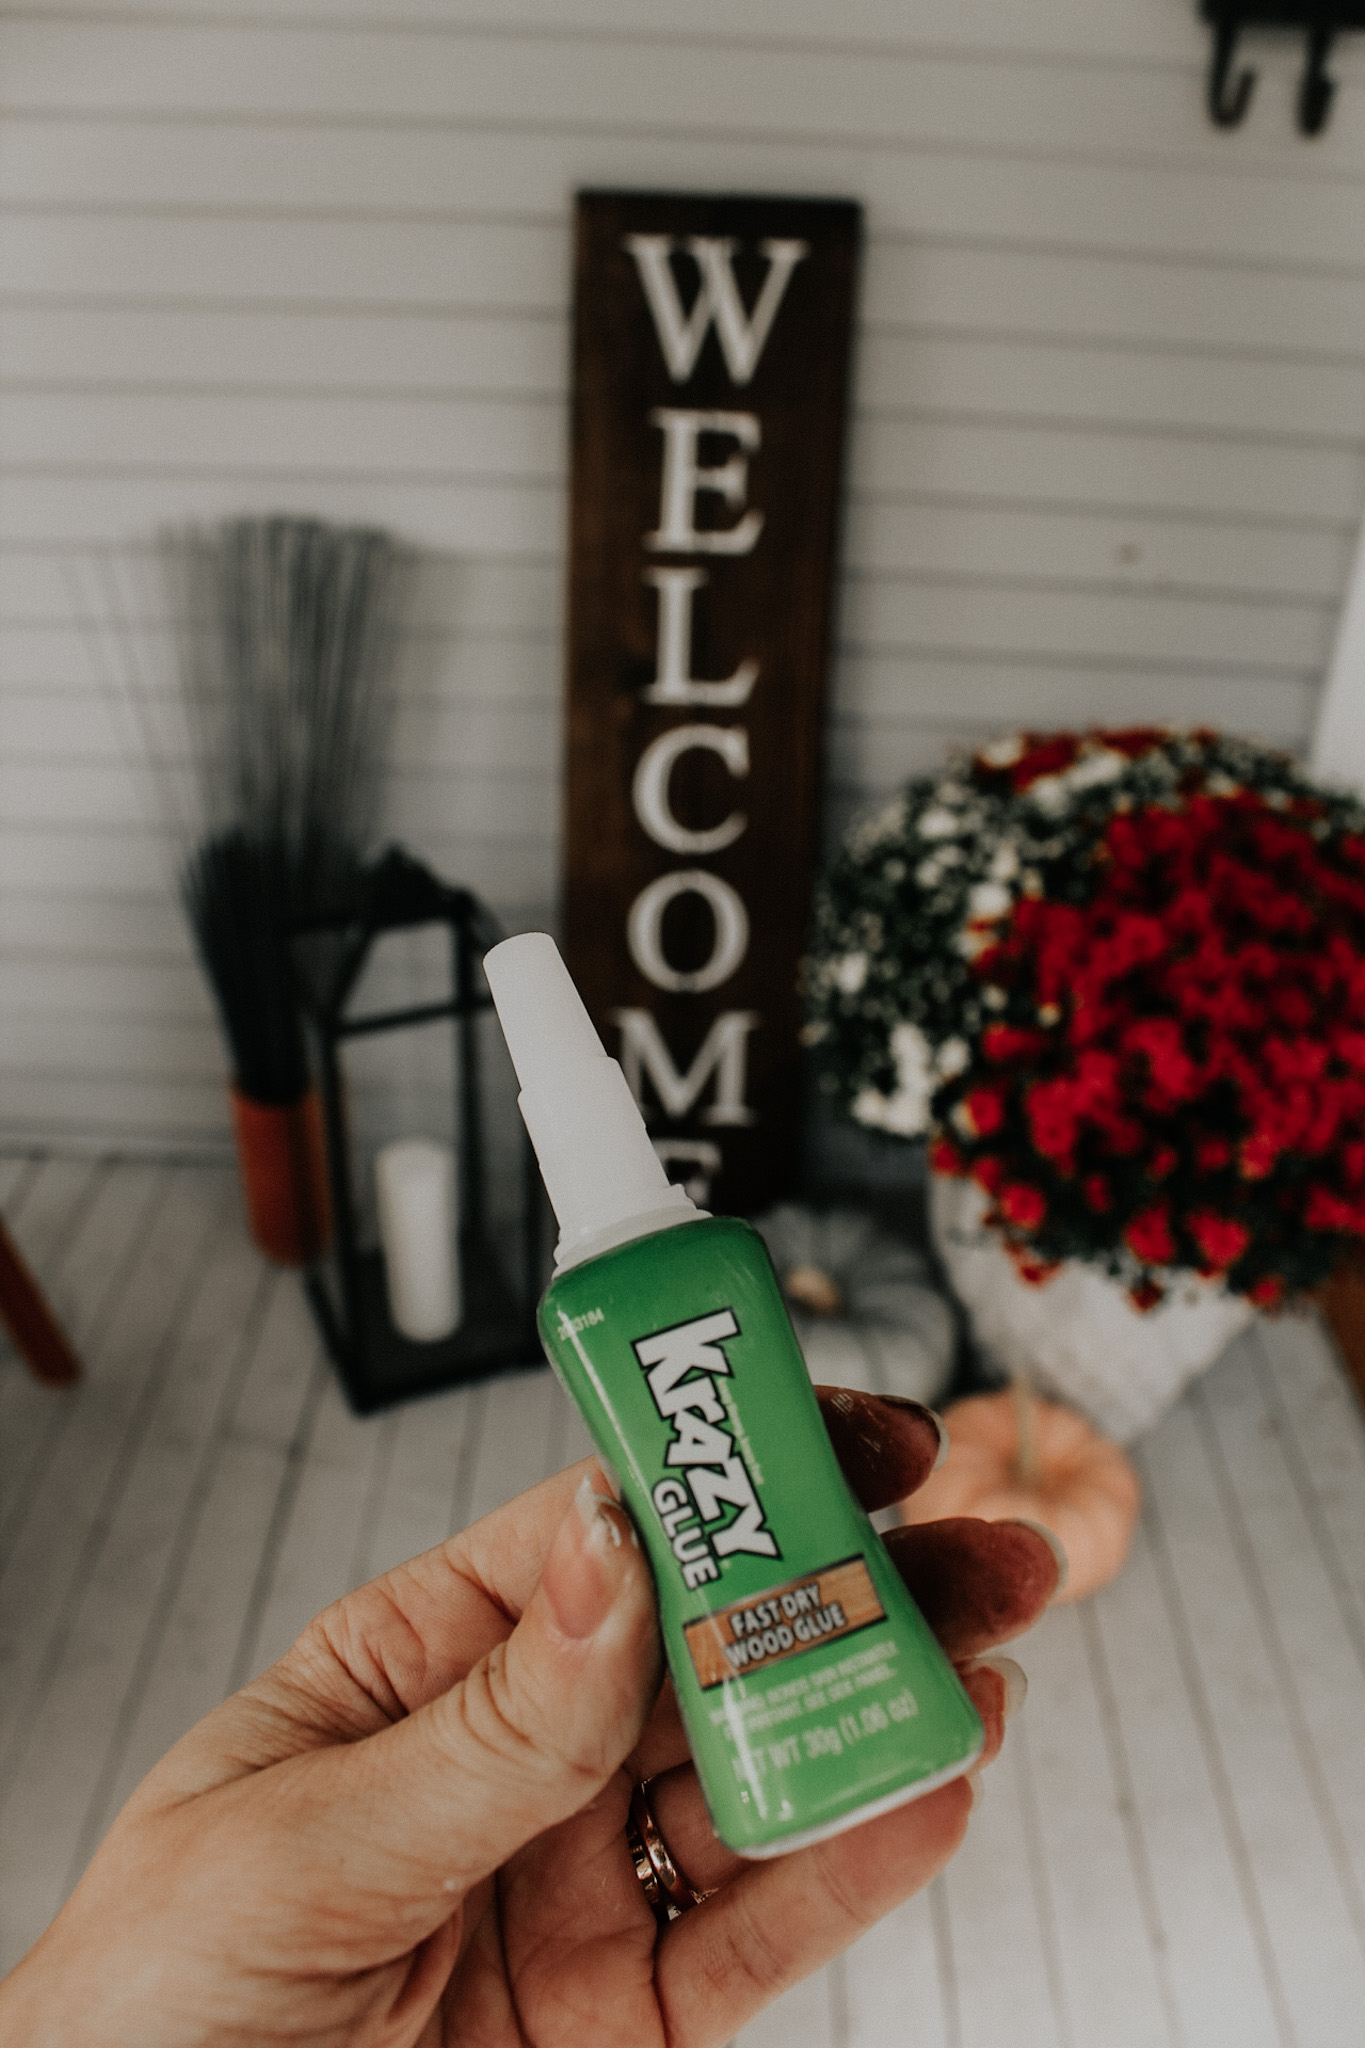
- Krazy Glue Fast Drying Wood Glue
- Wood clamps
- Wood stain (I used a walnut color)
- Old rag (for staining)
- Spray adhesive
- White paint/primer
- Welcome stencil
- Stencil brush
I am not the best DIY-er and I’m super happy with how this sign turned out! I completed the entire project in just an hour! It helped significantly that the clamp time on the Crazy Glue Fast Drying Wood Glue is only 6 minutes. Usually I’m waiting around forever before I can jump in and stain!
More Posts You Might Enjoy:
- Kids Playroom Design Ideas
- Bold, Red Rooms are All the Rage for 2024
- A Traditional Christmas Dining Room
- Create a Cozy Vintage Aesthetic at Home
- Kitchen Coffee Bar Makeover
I have the porch decorated for fall, but I love that this sign is versatile for any season! For now, bring on all the pumpkins, lanterns, and mums please! Lastly, a big thank you to Krazy Glue for sponsoring this fun project.


